$0.00
Choosing a Led High Bay Light is not just a matter of picking the brightest fixture. A warehouse aisle, a gym court, and a machine shop each need different light. Ceiling height, mounting distance, beam angle, and surface reflectance all shape the result. A fixture that looks powerful on a product page may leave dark patches on the floor. It happens.
Lighting designer James R. Benya’s work offers a useful reminder: “Choose lighting for the task and the space, not just the fixture.” This is a practical summary, not a verbatim quotation. It points to the decisions that matter: measured light levels, glare control, color quality, and dependable performance. Check photometric data, including distribution files when available, rather than relying on wattage alone. Also consider heat, dust, dampness, and how easily crews can reach the fixtures for maintenance.
The tips ahead will help compare lumen output, efficacy, color temperature, controls, build quality, and installation needs. They will also explain why a higher lumen rating does not always mean a better-lit workspace. Ask for a lighting layout when the room is large or the work is detail-heavy. Then review the assumptions behind it. Even a careful plan can miss a reflective surface or an awkward rack layout. No single specification tells the whole story. A little skepticism helps.
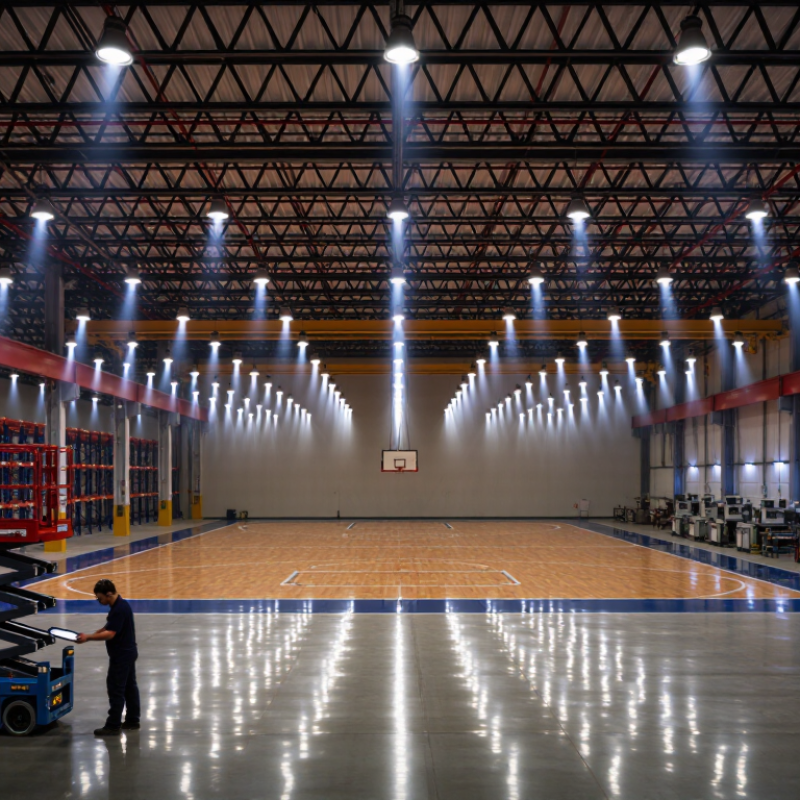
A high-bay fixture is commonly used in spaces with ceilings about 20–40 feet high. That range is a useful starting point, not a strict rule. Measure from the finished floor to the actual mounting surface, such as a steel beam or ceiling truss. A 30-foot room can still have lower work areas, tall shelving, or overhead equipment that changes where light is needed. Note those details before comparing fixtures.
Height affects more than brightness. It changes how far light must travel and how much area each fixture can cover. A narrow beam may keep light on a tall rack, while a wider distribution may suit an open assembly floor. Check a photometric layout at the planned mounting height, and look for dark gaps between fixtures. The drawing may not reflect every obstruction. Ducts, cranes, and suspended signs can cast shadows, so walk the space and verify their positions.
That sounds simple. It is easy to miss a beam or mezzanine on a floor plan. Consider how fixtures will be reached for cleaning or replacement, too; service access at 35 feet can affect equipment needs and maintenance time.
Set light levels by task, not by square footage alone. IES illuminance recommendations provide useful starting points for spaces such as warehouses, workshops, and gyms. Check the target for the actual activity: reading labels on a storage rack calls for different visibility than moving through an aisle. Targets are commonly expressed in lux or foot-candles, measured on the relevant work surface.
Measure the right plane. A desk or inspection bench needs horizontal readings at its working height, while vertical readings may matter for shelving labels or tall equipment. Keep the layout in mind, too. A high-bay fixture can produce a bright patch beneath it and dimmer areas between fixtures. Even light matters.
Before choosing output, consider mounting height, fixture spacing, surface colors, and daylight. Dark floors and high ceilings can reduce useful light at the task, even when the fixture’s rated output looks sufficient. After installation, take readings across several points with a calibrated light meter, then compare the average and minimum values with the chosen IES target. Adjust aiming, spacing, or output if needed. One awkward detail: the meter reading may change during the day, so check the space under typical operating conditions. I’d also leave room for later adjustments; real rooms rarely behave exactly like a lighting plan.
Efficacy shows how much light a fixture produces for each watt it uses. A rating of 130–170 lm/W is a useful benchmark when comparing LED high bays, not a guarantee of good lighting. Check whether the figure describes the complete fixture, rather than the LED chips alone. Ask for a photometric report, and compare tested output with the wattage listed on the product sheet. Small print matters.
Tip: Look beyond the headline number. A 160 lm/W fixture may save energy, but its beam could leave dark patches between warehouse aisles. Review the distribution data and match it to ceiling height, shelf layout, and task areas. I admit, the efficacy figure is easy to overvalue.
Tip: Compare products at similar conditions. Dimming settings, temperature, and optical lenses can affect real-world performance. Check the stated lumen maintenance and warranty terms, too. For a practical check, estimate how many fixtures the space needs, then compare total light output and connected wattage. A sample installation can reveal glare or uneven coverage before a full purchase. It is not always convenient. But it can prevent an expensive mismatch.
Beam angle should follow the room, not just the fixture’s advertised output. In a tall warehouse with narrow aisles, a tighter distribution can put more light on the floor and rack faces. A wide beam may suit an open workshop, but can waste light on upper walls. Check the mounting height and aisle width together. Then look for dark patches between fixtures. Walk the space after installation, if possible. That small check can reveal uneven areas a layout drawing misses.
Color temperature changes how surfaces and details appear. A 4000 K light often feels balanced in loading areas and workshops, while 5000 K can make labels and edges look crisper. But higher CCT is not automatically better; some workers find it harsh during long shifts. Compare samples in the actual space, ideally beside existing lighting. Also consider color rendering when staff inspect wire colors, packaging, or finishes. I might choose 5000 K on paper, then reconsider after seeing it against gray concrete and metal shelving. Real rooms are less tidy than specifications.
Use this guide to narrow down beam-angle and color-temperature choices for common high-bay applications. Treat the recommendations as starting points: ceiling height, fixture spacing, reflectance, and the fixture’s photometric data all affect the final result.
| Tip | Space or Requirement | Optics / Beam Angle | Suggested CCT | Why It Can Work |
|---|---|---|---|---|
| 1. Start with the mounting height | High ceilings or fixtures mounted well above the work plane | Consider a narrower distribution, often around 30°–60°, subject to a photometric layout. | 4000 K or 5000 K | A narrower distribution can help direct more light toward the target area. Check for adequate coverage between fixtures and avoid excessive brightness directly below them. |
| 2. Match the optic to aisle geometry | Long, narrow warehouse aisles with racking | Consider an aisle-specific distribution, such as an elongated or rectangular pattern, aimed along the aisle. | 4000 K or 5000 K | Aisle optics can place light along the travel and picking path while helping limit spill onto rack faces. Confirm the distribution using the fixture’s photometric file. |
| 3. Choose broader coverage for open areas | Open storage, assembly, or recreation areas | A medium-to-wide distribution, commonly around 60°–90°, may suit lower mounting heights or wider fixture spacing. | 4000 K for a balanced appearance; 5000 K for a cooler appearance | Broader distributions can improve overlap across open floor areas. Check uniformity, glare, and light levels at the work plane. |
| 4. Use 4000 K for a neutral white appearance | General warehouses, workshops, and mixed-use industrial spaces | Select the beam angle based on room dimensions and fixture layout. | 4000 K | 4000 K is generally perceived as neutral white and can be a practical choice when a less cool appearance is preferred. |
| 5. Use 5000 K when a cooler appearance is desired | Inspection areas or workspaces where a cooler white look is preferred | Select the beam angle to suit the task area; CCT does not determine beam spread. | 5000 K | 5000 K typically appears cooler than 4000 K. Compare samples in the actual space when color appearance matters. |
| 6. Check glare and vertical illumination | Areas with tall shelving, elevated work, or frequent upward sightlines | Compare distribution and glare information; consider whether light must reach vertical surfaces as well as the floor. | 4000 K or 5000 K, consistently applied | Beam angle alone does not describe glare or vertical light. Review the fixture’s intensity data and layout, especially near workstations and aisles. |
| 7. Verify the layout before ordering | Any high-bay retrofit or new installation | Use the manufacturer’s photometric file and a lighting calculation to confirm spacing, coverage, and uniformity. | Keep CCT consistent within the same visual area where practical. | Beam-angle labels and distribution patterns can vary by fixture. A calculation using actual mounting heights and spacing is more reliable than selecting by angle alone. |
Planning note: Beam-angle ranges are general examples, not universal classifications. Confirm the fixture’s photometric distribution, local lighting requirements, and the needs of the task before making a final selection.
A high-bay fixture may hang above a warehouse aisle for years, so check its safety documentation before comparing price or lumen output. UL 1598 covers luminaires; look for a valid listing and installation instructions, not just a logo on a product page. For dusty shops or damp loading areas, IP65 means dust-tight and protected against water jets under IEC 60529. It does not mean the fixture can be submerged. Match the rating to the actual exposure, and inspect seals and cable entries during installation. Small details matter.
Controls need the same care. A 0–10 V dimming label does not guarantee that every driver and controller will work together. Confirm compatibility, wiring, minimum dim level, and whether the fixture dims to off or stays faintly lit. The Lawrence Berkeley National Laboratory’s meta-analysis, “A Meta-Analysis of Energy Savings from Lighting Controls in Commercial Buildings,” reported average savings of 24% for occupancy sensors and 28% for daylighting controls. Those figures cover control strategies broadly, not 0–10 V dimming alone; actual results depend on settings and operating hours. Test one fixture first. I still find commissioning gets rushed. Record the final settings, then check them after a week of real use.